How To Edit Audio For Beginners

Once you’ve finished making and recording audio, audio editing is the first step you’ll need to take on the road to finishing your song, followed by mixing and mastering.
Below, we delve into what audio editing is, why it’s necessary and discuss the best editing techniques as well as the best kit for the job.
What is Audio Editing?
Audio editing is an aspect of the music post-production process which involves the manipulation of recorded files in a musical arrangement. If you want a unified track that sounds great, this is a crucial stage in reaching that point.
Primarily, audio editing aims to:
- Form an optimal arrangement
- Clean out any unwanted noise
- Identify which takes to use and any re-recording required
Recording technology has come such a long way in a startlingly short space of time. Whilst the first-ever recording studio was set up in 1889 by the New York Phonograph Company, it wasn't until 1945 and the invention of the tape machine that sound editing as we know it today was born, as engineers began splicing magnetic strips and piecing them back together. Arguably the most famous studio in the world is Abbey Road, where The Beatles began experimenting with editing techniques such as tape feedback and backwards recording, which were truly groundbreaking at the time.
Nowadays however, digital storage of audio files and the development of computer software has enabled even greater and more precise manipulation of audio. Which brings me on to my next point...
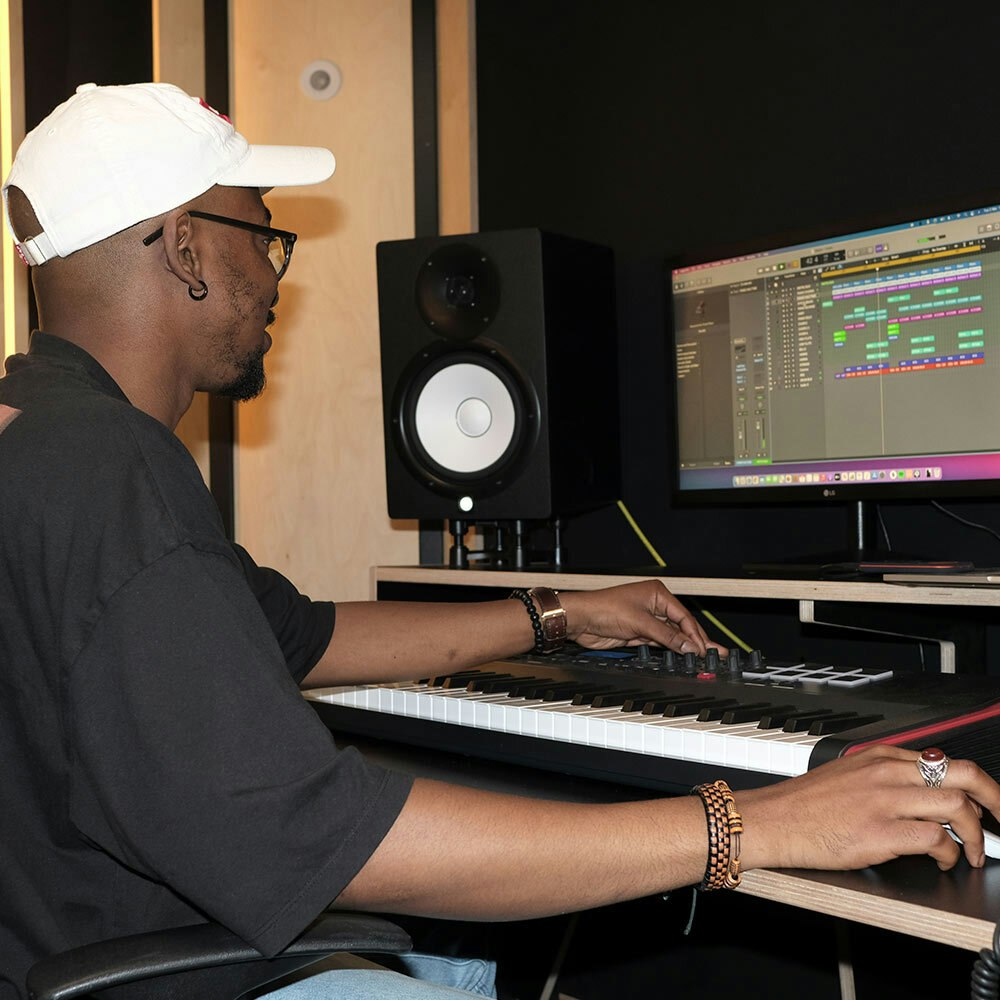
The Modern DAW
DAW stands for ‘digital audio workstation’, computer programs which are used for pretty much the entirety of the production and recording of music, radio, TV, podcasts (and so on) that you hear today.
If you are producing music or have done any basic audio editing before, you are probably already familiar with at least one of the following:
- Ableton Live
- Logic Pro
- Pro Tools
- FL Studio (aka FruityLoops until Kellogs served them a lawsuit)
- Cubase
READ NEXT: NUTTY P'S TOP 5 CUBASE TIPS
When it comes to which is the best software to edit, that's very much down to personal preference. Each DAW has its own specific interfaces and quirks. However, when it comes to how to use them to edit audio, the audio editing steps are the same.
Generally speaking, each is arranged so that you have a main timeline (normally gridded with a chosen BPM) with multiple channels for different tracks. Those of you who began writing and recording songs on a 4-track tape deck can rejoice in now having a potentially limitless number of channels to play with (though of course this comes with its own problems).
Each channel will have an overall volume level, normally emphasised visually with a fader, and the ability to have FX added to specific channels and dials for ‘sends’ onto a separate send channel. If you are writing in one of these DAWs, you will probably also have MIDI channels - a ‘Musical Instrument Digital Interface’ - which is basically a channel that outputs audio, rather than containing recorded audio.
It is worth noting that some pro producers/engineers will choose to use different DAWs, depending on what they are trying to achieve, or even what genre of music they are working on. For example, many electronic producers may do a lot of the songwriting in Ableton, which is generally considered to be more conducive to a creative workflow, before bouncing out files and importing them into a Logic session to edit and mix them. Pro Tools is generally favoured by people who work on music and audio for film, having the best video integration.
Frankly you'll never really be able to understand all the potential functions of the potential DAW options - the important thing is to get familiar with one, play around and use your ears.
Editing Songs
Once you have gained some confidence navigating your chosen DAW, you should be ready to start looking at how to edit sound. As with most technical disciplines, the most important thing is to be organised - in the long run, this will save you lots of time and avoid mistakes happening (if you are wondering what the second most important thing is, it's to back-up your work).
Assembly
Once you've received each of the constituent tracks that make up the whole song, label each one and organise them into groups - these can then be used for bussing during the mixdown (more on this in another tutorial). Typically this will take the form of:
- Kick
- Drums
- Bass
- Melody
- Vocal
- FX
- Sends
You can also help yourself out visually by colour coding each individual channel or group.
Arrangement
Once you've assembled the project file, the first thing to check for the arrangement would be whether or not it is all sitting together properly tempo-wise.
Generally speaking, if the track has been entirely electronically produced, there may be very little for you to do, as all the recorded parts could already be perfectly aligned.
If you're dealing with live recordings, a great deal of manual alignment may be required - say someone recorded just the second verse in isolation, this would need dragging the clip to sit in the correct part of the timeline. With this, start macro to micro - all DAWs allow you to go into minute detail in terms of placing tracks in the timeline. Warping features will also allow you to manipulate each individual track by dragging certain transients to different grid points. If you wanted to get creative, you could even try editing the material into an entirely different structure, known as a remix.
READ NEXT: HOW TO REMIX A TRACK & EARN ROYALTIES
If you’re working to a spec - say on music for an ad which has to fit run on for 40 seconds, but you only have 30 seconds of material, you may have to use stretching or looping to fill it out - or even add some additional ideas/samples to the project.
Selecting The Right Track
Often, you may receive multiple takes of the same single track and you will have to make a decision about which is the best to use. It's normally best to listen to the track you’re selecting as a part of the whole mix first to see how it sits with the rest of the song, before listening to them in isolation to identify any problems in greater clarity. Often, you will want to chop and splice optimal parts of multiple recordings into one channel you are going to use, to then process as if it were one single take.
Unless you have the luxury of an unlimited budget to re-record, you may not be able to piece together something entirely faultless. If you don’t have an immediate ‘that’s the one’ response, it may be worth leaving a couple of options for the mixing engineer (if that isn’t also yourself), who can address any issues as best they can with digital fixes. Reusing tracks is another way to deal with imperfect recordings, for example - using the best recording of the drums for both choruses.
Dealing With Noise
No matter how much soundproofing a studio invests in, with any live recording a certain amount of noise or ambience will be picked up by the microphone. When you listen to any old recordings, you’ll hear a great deal of noise compared with a modern recording.
One of the most important tasks in the editing process is removing this unwanted noise to make your sound clearer.
The first step is to trim regions of each clip, leaving only the active audio you’re using in your mix. Even if it appears empty, a close listen can reveal additional noise in these segments. Next, you’ll want to apply batch fades - short volume fades on either side of the clip to smooth out the transition and remove any clicks or pops transitioning from the silence, which can be easily done in most DAWs.
If you still find a lot of unwanted background noise in a recording, you may want to apply a noise reducer. If you don’t have a stock one, there are a number of plug-ins which specialise in doing this, which is mostly achieved through filtering and gating. Bear in mind, the heavier you are with it, the more of a detrimental effect on the musical element you are trying to isolate, so it's best to use it up to a point where you can’t hear any real difference in that desired element. With vocal channels specifically, you may also want to deal with excessive recorded sibilance with a de-esser, which can be further fine-tuned during the mixdown stage.
Final Thoughts
The music you’re making will determine how rhythmically tight you want it to feel. For example, if you are making a dance-track that’s easily mixable you'll generally want it to feel regular and gridded, whereas for a soul tune you might want it to feel looser and maintain the rubato musicians have purposely left in the recording.
Equally, not all noise is bad. You might want to keep some in to preserve a live feel to it or add texture (though these days, this is normally carefully selected and layered in afterwards). Always bear in mind what kind of outcome you or the track is aiming at. Inasmuch as editing is a crucial stage in producing a great sounding track, over-editing can often produce bad results, or lose some sense of what the track is about.
If you don't have space or equipment at home, you can learn to edit, mix and master your music at Pirate's worldwide recording studios, bookable by the hour.
